Just to prove I am still doing the odd bits on the bike here are the next seat repair photos. First one is after the electrolysis a going over with Kurust. I then painted it with some old rust preventing primer I found in the garage.
Then it was a coat of red from an aerosol a relic of an old Sherpa I once owned. At last I was ready for a bit of fibre glassing...
First face done and a check to see if it still fits ok. Which it does. It is already a lot more robust. I left the extra fibre glass sheet on the edges so I can turn it over to form the missing sides of the seat. As a matter of interest, the resin and hardener was given to me by my brother 10 years ago and it still worked perfectly - just in case you have some old stuff in the shed and are wondering if it is still any good!
With the second face done it is starting to look more like a seat base again. the next stage will be to form the missing sides of the seat which I will the cut to shape once I have put sufficient sheeting onto the base.
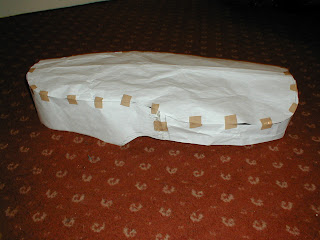
While I've been tackling the seat base in the garage, I've also been putting the cover together in the warm. From the pattern I made, (see below), I cut out the leather off an old settee. Some piping formed from white leathercloth means I now have a real battle to get the needle through. Anyway I have managed to tack it and am slowly hand stitching with closer stitches. I have more leather to add to the bottom edge of the cover. It is starting to look pretty good - hard to tell in the photo without the seat foam padding it out though. Probably time to order some paint to start on the frame and a set of bushes for the swing arm while I am at it.


